Development Tools
We recommend using IntelliJ IDEA or Eclipse for development:- Download IntelliJ IDEA — the Community Edition is recommended (scroll down; the first link is Ultimate)
- Download Eclipse
Set up SDK and Workspace
We recommend using Zulu 21 as your SDK.If you want to develop Java 8 extensions, use any JDK 8 distribution. Once Java is ready, clone or download the example extension and import it into your IDE.
If you have Git installed, you can clone with:
Packaging
After editing, you can build the JAR using the Maven sidebar in IntelliJ IDEA and selecting thepackage command.
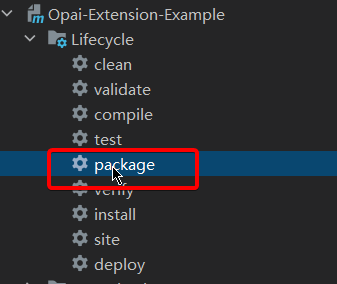
target directory.
Copy this JAR file into the %appdata%\Opai\extensions folder to load it in the client.
Debugging
In the client, you can reload extensions using:Developer Documentation
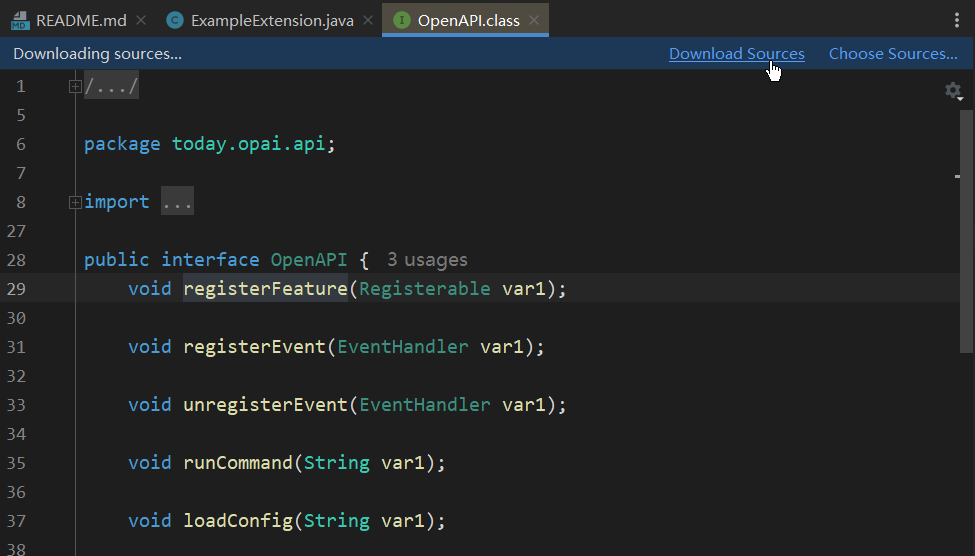
The developer documentation is provided in Javadoc format. Inside the IDE, you canCtrl + Right Click any API class name, then click Download Source to view the Javadoc (only needs to be done once).